

I chose Ultimates Captain America for a few reasons:
 1) It wasn't until I read the Ultimates that I liked Captain America. So he's easily my all-time fave Cap. Sorry Chris Evans. Though you come in a close 2nd...
2) They haven't made a 3.75" Ultimate Cap that I've truly been satisfied with.
 3) Avengers Movie Figures look great but don't move great. Many of them end up having well-sculpted parts I really like (like Super Shield Captain America) so that for me was really the straw that broke the camel's back. And with so many variations of cap after last year's movie, It made me really wanna cannibalize.
4) I'm starting to find loose Captain America 3.75" movie figures and Marvel Universe figures loose and for cheap because it's been a year now, and things are starting to go on clearance!
So this is about how I went about kit-bashing, with the emphasis on the bashing part!
So this is about how I went about kit-bashing, with the emphasis on the bashing part!
 |
| Longer legs = tallest! |
Comparing him to my Ultimates Cap outta the Captain America movie line, I realized he was taller. He also had wrists but no elbow swivels (they were hinges), while the former had elbow swivel/hinges but no wrists.. But he had no chest pivot, no double-hinged knees (only single), and no ankles. Frustrated that both figures had some things the other didn't I wished there was some way I could remedy the problem.
 |
| With bandoleer still on |
 I'd been meaning to try my hand at customizing for some time now but just didn't feel I had enough knowledge or the parts I needed. So when the chance presented itself in the form of a cheap loose figure I already had, I jumped at it. Time to merge Ultimate Cap with SS Cap and make the perfect Cap for myself.
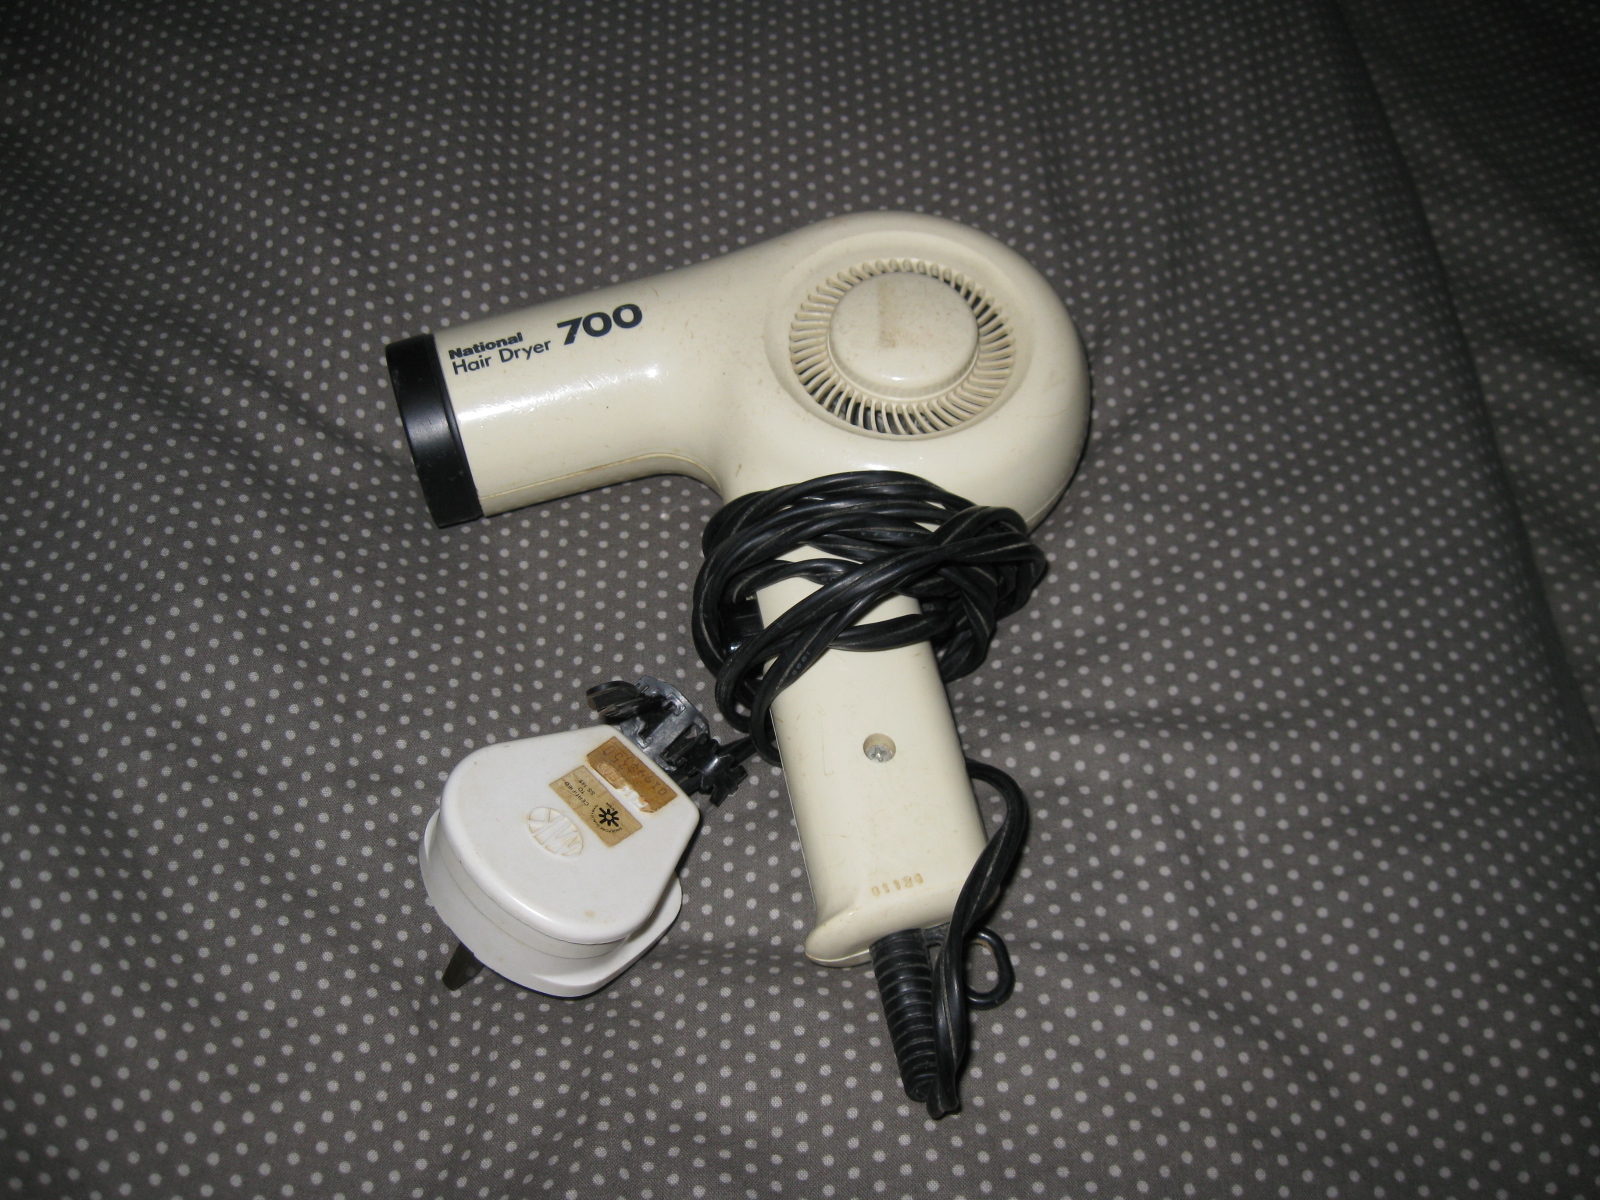 |
| My new favourite household appliance |
 |
| Complication #1 |
The thigh pegs on SS Cap were longer than those on UltiCap. I tried putting 'em on anyway but it looked like this (below).
I didn't have a Dremel at the time so I could drill deeper into the SS thigh sockets. (But I just bought one yesterday. Hahah! ;P)
 There was also no way I could slice off and re-attach the heads on the pegs confidently. The swivel rings that controlled the whole leg were also steadfastly drilled into his lower torso so I didn't feel pulling that out by force was an option either.
Bummed that I didn't have the tool or the know-how to get around the problem, I thought my first attempt at a custom was at an end.
 |
| Complication #2 |

 The ring holes on SS Cap were larger than those on UltiCap. That meant that the soft plastic "bars" would be too big to fit through the Ulti torso rings. There was also no way the trusty hairdryer could come to the rescue--those rings are made of hard plastic and won't soften under heat. Argh! But I was enjoying the challenge, so I thought: I couldn't whittle away at the sot rubber "bar" because that would greatly weaken the hinge, which might eventually break. I couldn't pull out the hard plastic rings. So I grabbed my Exacto knife and started widening the holes on the Ultimate torso rings. I initially tried filing them wider with some hobby files but it was going too slow and I kept filing the edges of Cap's ass. I didn't want him to have a rough, worked-over behind, so I turned to the Exacto.
 |
| So pretty! |
After much finagling, I had me my widened holes! ;)

 |
| Complication #3 |
 Now I had my torso and legs, but not arms. And as you saw, my original plan was to use the Super Shield upper arms and slice the rings off them, and then somehow drill the forearms of UltiCap to take their place. But there were a few problems (Complication #3):
 I didn't know how to remove the arms at the shoulders without damaging the figure. Even if I did, I didn't know how I was going keep the SS upper arms, slice off the inflexible elbow rings and drill in the SS forearms and keep the elbow swivel. The problem was mainly how to keep the SS arm but put in a swivel at the elbow. The single hinge joint there looked so obviously different from the swivel/hinge of the Ultimates Cap.
 But then I lucked out--I noticed that the upper arms were the same length after all, or close enough that it wouldn't matter. Then after heating and removing the forearms off both SS and Ultimates Cap, I realized the matter of the elbow swivel was simpler than I'd thought--the difference just down to one thing: the swivel ring that gave Ulticap the elbow swivel!
 Where SS Cap's elbow had an inflexible but soft rubber ring, Ulticap's was hard plastic screwed/drilled into the upper arm! Wrist swivel aside, the forearms were otherwise the same. So it was a simple matter of a forearm switch--SS Cap's onto UltiCap's upper arms. Yay! :)
 Complication #4 is actually the first problem I encountered, but it was a small one concerning the vest and belt so I put it down the list. I'd thought the SS belt and vest didn't have tabs and holes but it turns out they do: the belt's is under the water bottle on the rear right, while the vest's is at the bandoleer where it connects with the left side of the vest. It's just that both are glued tight. (Thanks, 3B, for the tip! :])
 With the trusty hairdryer and a little heat, I managed to remove the belt okay but not the vest, which tore. So what I did (after consulting the dear wife) was to slice off the bandoleer completely. It looks better that way, I agree, doesn't require glue, and won't hinder the chest pivot. The belt tabs on nicely but will have to be glued to be held in place.
 After all this, I felt really proud that I'd managed to put New Ultimate Captain America together. But something didn't sit quite right. It was the head! I never really liked the head sculpt they gave him. He looked a little mean and also not quite so handsome. Cap's always a good-looking chap and I'd always thought the comic Ultimates comic Cap looked cooler without his mask on. In fact, some of the time he doesn't even bother wearing it. I thought that I would try on Marvel Universe Commander Rogers' for an unmasked version but his head socket was too small and again, no tools then.


 Then I stumbled upon GI Joe Pursuit of Cobra Desert Battle Conrad Duke Hauser in my Joe box. It was the perfect head! Right hair colour, ruggedly good-looking, stern but not mean. The socket? A perfect fit, nice and tight and able to move like a ball-joint should! :)
I was trying to remember the reason I bought the figure in the first place--it had a huge BFG as an accessory and little else. Then I slowly recalled that when I saw pics of him, I had thought: "That's Captain America!" I guess I was just saving it for this moment. Lol.

 Verdict: So here he is, in all his glory. My shot at the perfect Ultimate Captain America. He's as tall as Commander Rogers with a more realistic look.
 He's super flexible, though the one problem I have is not that his leg hinges are loose (those worked out fine), it's that his knees are soft. For some reason he can't seem to have too much weight on them, for example like in a wide stance. It's not that his knees are loose--they're tight--it's feels like the soft rubber knee piece either has been softened by heating or that the thigh piece isn't clipping the knee joint piece tightly enough. Either way, he's got two kinda bum knees. Lol.

 Also, I still need to touch him up paint-wise for the little details. But I thought I'd share him with you first. Hope you enjoyed it as much as I enjoyed talking about it! :)
Awesome! You did a fantastic job with this and the figure looks amazing. Any chance you could make one for me lol. : D
ReplyDeleteThanks, man! Ya know what, I actually wouldn't mind. Why don't ya drop me an email at ewanmah@hotmail.com or msg me on FB and we'll talk more there? ;)
DeleteI lack Facebook but i will send you a email shortly. : )
DeleteSounds good!
DeleteEmail has been sent.
DeleteI want one too :D
DeleteLol, drop me an email, KT?
DeleteWow! This turned out awesome, SDB! Congrats on your first custom and don't worry about the little Exacto knife incident... you ain't a real customizer until you bleed!!!
ReplyDeleteYou have certainly inspired me to try this out myself because I love that SS Cap figure and some added articulation would put him over the top.
FYI - if you haven't already, I highly recommend you check out the tutorials on Figure Realm, Mintconditioncustoms and Jin Saotome's Dangerous Toys. They are all very informative and helpful for novice customizers. Good luck!
Ah thanks, you're too kind! And yes, the minute I cut myself I felt like a warrior. Lol. And yeah, if you do try it out post it up too! I'd would sure like to see it. :)
DeleteThanks for the tip on the custom sites. I've been over to Jin's but that was some time ago and I was completely in awe. Lol. Mintcondition too, and I was over there more for the comic strip. Haha. But I'll be sure to go over again--I'll need all the help I can get! ;)
Am so proud of you, cuz! You've taken your first step into a larger world...*bzzt*
ReplyDeleteYou've only begun to discover your power! Join me and I will complete your training! With our combined strength... eh. Sorry. Monday morning. Need coffee. Synapses frayed.
Darth RangerLord
Lol, where do I sign up? ;)
DeleteBut seriously though, thanks for being great 3rd pair of eyes. I had doubts about how good Cap turned out but I think they were mostly because the knees turned out wobbly. It was a real pick me up to know you thought he looks great!
I applaud you, he is damn fantastic. I'm definitely going to have to try this myself. Very nice tutorial, your a natural. ;)
ReplyDeleteNah, you flatter me. Cap still needs to be touched up paint-wise for sure. Hope you do get a chance to try it out and it turns out even better! :)
DeleteBeautiful custom!!! Great post!!! Love it!!!
ReplyDeleteThanks, dude! :)
DeleteAwesome! It's certainly harder than it looks to make customs.
ReplyDeleteYeah, for sure! Especially when parts look to be the same on the outside figure to figure. But I guess I'm finding troubleshooting to be part of the fun too! :)
Delete"What the heck another Captain America reviewed on Chase Variant?!?!?! What ever happened to Scar Jo, Renner and Jubs?"
ReplyDeleteHow inspiring. After reading your article, I went to our nearest hobby shop and checked if they were available but they're not on clearance yet, maybe next time baby - LOL. Congrats on your first custom, your ingenuity in making an easy awesome custom amaze me. I hope someday I could make one.
She's next up! Lol.
DeleteThanks, man. If you ever get 'round to doing one, post it up! And if you really like this one and want one, I'm sure I can repeat the Super Soldier experiment to produce Cap again! Just drop me an email? ;)
olrayt!
DeleteYou did it real BIG, my friend!!! Congrats on a job well done. I must say the un-maksed version is just sick!
ReplyDeleteThanks, dude! Glad you like it. :)
DeleteTHat was awesomely well written! Had us looking over your shoulder and on the edge of our seats up till the end when we all rejoiced at your finished product :)
ReplyDeleteThanks, dude! Haven't seen you around in a while. How've you been? Managed to add to your DCUC and Marvel collections recently? :)
DeleteNow THIS is what I call an ULTIMATE Cap figure. As a fellow collector/customizer padawan I loved this post more than you could ever imagine.
ReplyDeleteI am currently working on AVENGERS Movie versions of Thor and Loki using "Thor" movie figures. Because "Avengers' movie stink. A lot.
Please, keep these customs coming.
Thanks Liko!
DeleteAnd yeah, pity the Avengers figures didn't match up to the movie--let's just hope some day they revisit the figures and maybe re-introduce them into the Marvel Universe line or something like that. ;)
As for the Thor and Loki customs, let us know when you're done! I 'd really like to see them. :)
Can you please elaborate more on how you removed the hip joint from the swivel ring, because I didn't really quite get it when you explained, sorry.
ReplyDeleteSure! The hip ring is solid plastic and the uppermost portion of his thigh is injection molded into it. This means the part that goes through the ring is completely sealed. The good news is that it's made of soft plastic, meaning that all you have to do is to hairdryer that portion a little to soften it up and using an Exacto knife, slice into and along either side of the hinge.
DeleteHope that helps! :)
And how were you able to reattach them?
DeleteWell, if you're exact you could actually superglue the soft parts back together without sealing the whole thing--something I couldn't do because I wasn't exact. What I did was hairdryer, slice, hairdryer again and put the soft bits through the hard plastic ring and wait. Once it cools enough it won't be soft and rubbery anymore. Hope that helps?
Delete